Hi, Phoenix here, still talking about dairy farming. Again, K and I are two former city folks just starting the process of homesteading. Without any previous experience, we were a bit at sea reading guidance clearly designed for people who at least knew some basics. We hope by sharing our learning experiences we can provide others with information we didn’t have while teaching ourselves the basics.
Today I want to share with you from our perspective the experience K and I have had learning how to make aged cheese. Much of the process is similar to making fresh cheese (see previous post). You still have to heat up the milk, add the acid that will curdle the milk, strain the curds, and press them. There are some additional steps for making aged cheese, though.
For one thing, many aged cheese recipes call for mesophilic starter culture. Mesophilic means moderate (meso) loving (philic); so these cultures come out of hibernation and proliferate when put into moderate-temperature (a.k.a warm) milk and help it turn into cheese. You can buy packets of culture online and store them in the freezer till needed. These packets contain beneficial bacteria that digest the milk sugar lactose and form lactic acid, which helps curdle the milk and develop a cheese’s characteristic flavor.
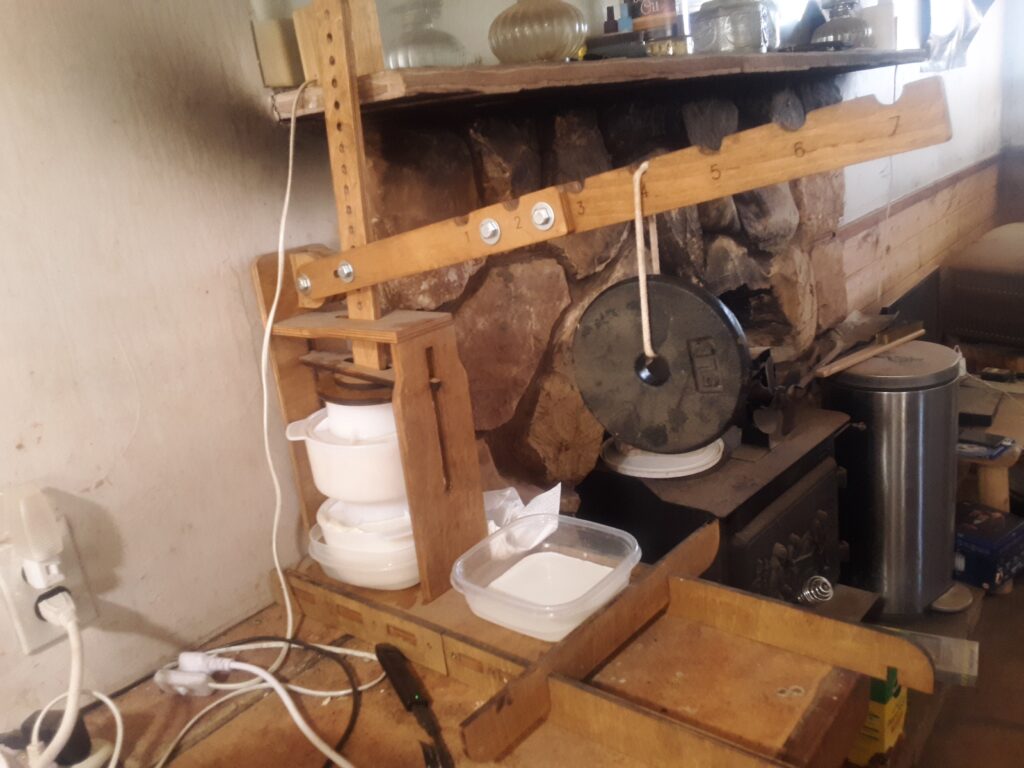
Another difference in making aged cheese is the curds need to be put into cheese molds (containers with holes in them to let whey drain out). There is incredible variability in how aged cheese is processed. Often, the cheese is placed in a cheese press usually for longer periods of time than fresh cheese, which takes anywhere from 30 minutes to 6 hours. Aged cheese needs to be pressed anywhere from 2-8 hours at a particular pressure, increasing the weights from 5 to 50lb over 2 to 3 days. The specific times, weights, cheese mold, and press type depend on what kind of cheese you’re making. You may have to experiment and look at what’s available online to get the cheese to your liking. K and I prefer to use the lever-type of cheese press because it allows more pressure to be applied, squeezing out more whey.
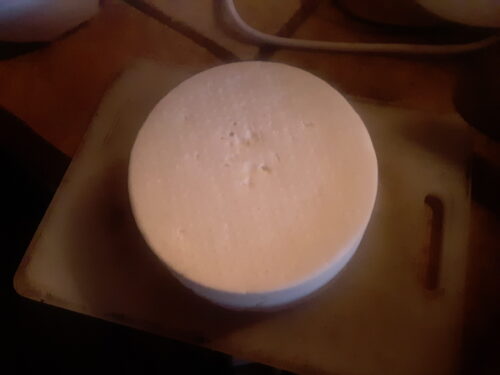
During the pressing, K and I unwrap the cheese cloth, flip the cheese wheel within the mold, and rewrap it several times (usually when changing weights). During the beginning and middle of the milking season, we press two wheels at a time. If pressing two wheels at a time, we also switch the top and bottom wheel. This allows the wheels to be pressed more evenly and the faces of the wheels to be smoother. These wheels are usually 6 inches in diameter and 2-3 inches in height.
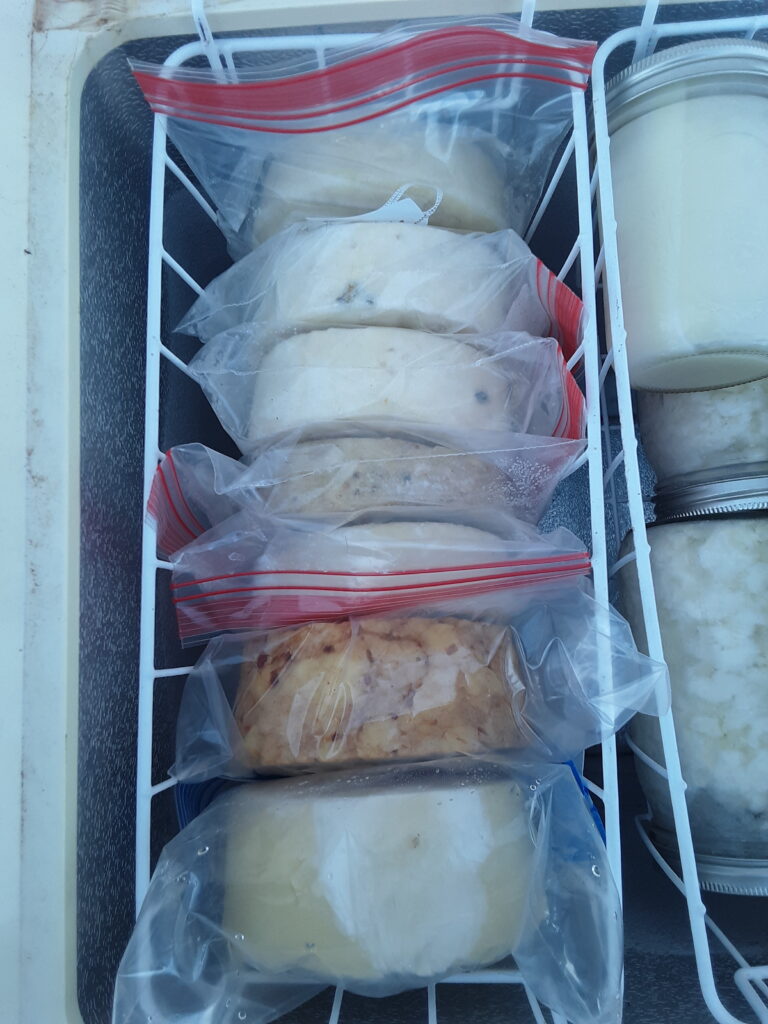
For cheeses like cheddar, the wheel needs to air dry for about two weeks till a rind forms. During this time, the wheel needs to be rubbed with salt (depending on the type of cheese) to discourage bacterial and mold growth. For gouda, the wheels need to be brined rather than salted before aging. After the wheel is dry, it can be aged for several months in the refrigerator. Depending on the type of cheese, there may be additional steps. If storing cheese for longer, K and I freeze the wheel for future use. Someday I hope to build a cellar to store cheeses for even longer periods, up to 10 years, without using electricity.
As with fresh cheese, there are many cheese-making books out there, so I won’t go into recipes here. K and I started off with different types of cheddar and gouda, and they turned out pretty well!
Next blog post: Part 6: Dairy Farming–making keto ice cream (by Phoenix)