In the last blog post, K and I were completing three weeks without running water, but we had what we needed to install the new tank (at least we thought we did).
We started working on the tank on Saturday morning, so if we needed parts the hardware store would be open. First, we needed to get the tank through the attic door. Luckily we had enough clearance- that step turned out to be the easiest.
We thought we’d gone up there prepared. Then we found out the flashlights’ batteries were low and the chainsaw blade needed to be changed. An hour later, we were back in action.
To fit the tank where the previous one was, we needed to cut two 2×4 beams used to support the old tank (hence the chainsaw). Then we had to connect the old pipe to the fittings on the new tank using flexible tubing secured with hose clamps.
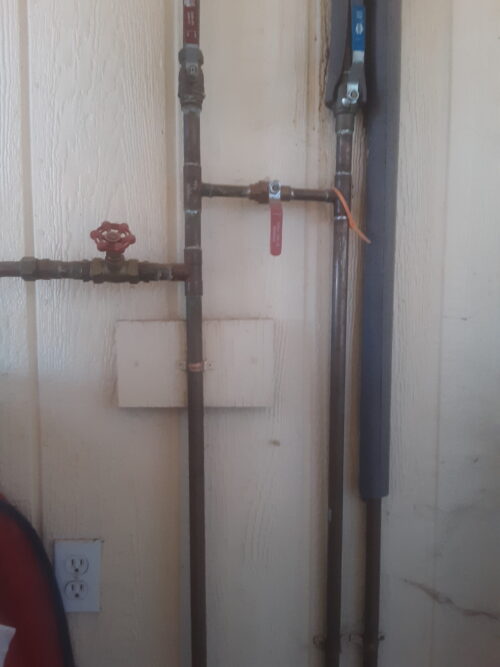
We connected the inflow and overflow pipes, and K headed down to prep the water pump while I finished connecting the outflow pipe. When we turned on the water, though, our waterfall reappeared in the kitchen. There was a rupture in the inflow pipe. No matter, we had extra tubing to replace that section of the pipe with. When that was done, K turned on the water again, and the waterfall was back. There was another rupture in the outflow pipe. These ruptures were a result of old piping (about 20 years) and the use of rigid copper pipes rather than flexible tubing, which K inherited when he bought the house. You may be facing a similar situation as well, so if you have an attic water tank, try to keep it above freezing by using insulation and heating to prevent rupturing.
This time we were out of tubing and hose clamps to fix the second rupture, so back we went to the hardware store. Once that rupture was fixed, K turned on the water and the kitchen stayed dry! Third time’s the charm. We filled up the tank, I wrapped it in insulation and plastic, and we finally had running water again. This meant we could draw a hot bath in less than four hours. We could wash our hands more thoroughly (kind of important during a pandemic). We could wash dishes without it being a major production. We could have more than five gallons of water on hand at a time.
So, what did we do to prevent this new tank from bursting? For one, we bought a flexible tank with an overflow about an inch from the top of the tank (giving us about 15 gallons of play before risking bursting the tank). We used flexible tubing which is resistant to bursting if there is a freeze. We packed in the insulation and tightly wrapped the whole thing in plastic. Lastly, we added a small propane heater to the pump room to run on nights with freezing temperatures. Homesteading, always an adventure.
While we hope and plan not to repeat this anytime soon, I learned a lot from this experience. I had no idea I was capable of installing a water tank, and doing so has increased my confidence. K and I are learning not to make assumptions. We assumed it was only the tank that ruptured. We assumed the pipe diameter stayed the same going up to the attic. We assumed the new tank would fit in without having to cut those two beams. We assumed the flashlight batteries were charged. We assumed the chainsaw blade was sharp enough for this project. We assumed we had enough flexible tubing. We assumed the original hose clamps would tighten all the way. All those assumptions were wrong and we had to adjust accordingly. Making these assumptions increased the time needed to fix the problem. The next time we have a project, K and I want to spend more time assessing the situation before tackling the problem.
I also learned that progress can be two steps forward and one step back, and that’s ok as long as I keep moving forward, even if it means several trips to the hardware store.
Next blog post: Part 1: Photovoltaic systems– types of solar panels (by K)